Overview
Brian Reese, Jason Enter, and Dane Powell, members of Acquia’s Professional Services team, recently released an open-source application that demonstrates how Drupal and Node.js can easily be paired to create beautiful and functional decoupled applications.
This demo application was split into two repositories: a Drupal-based backend (acting as a data provider) and the Node-based frontend. You can find a tutorial on how to try out this demo application yourself here, or follow the READMEs included in each repo.
The purpose of the current tutorial, however, is to illustrate how easy it was to create the Drupal backend using a combination of Acquia and Drupal community projects such as Lightning, BLT, and DrupalVM. This will allow you to follow the same process to rapidly create your own custom decoupled applications.
Note: Before starting this tutorial, be sure that your version of GNU Patch is up to date to avoid a Composer bug. You can read more about this bug here.
Understanding the components
Let’s start by briefly reviewing the open-source (read: free!) tools you will use in this tutorial.
Lightning
Lightning is a Drupal distribution that curates the best Drupal modules and patches to provide a great experience for editorial teams and developers out of the box. For our purposes, it’s most useful because it provides a preconfigured Content API feature, which automatically exposes a JSON-based REST API for content types, fields, media, and other entities.
Headless Lightning
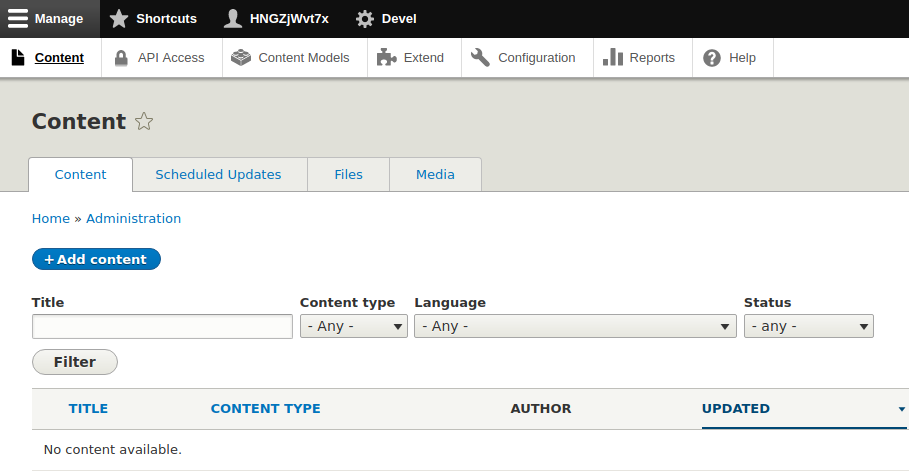
Headless Lightning is a sub-profile of Lightning that includes all of the same features, but additionally provides a simplified administrative interface designed especially for decoupled sites, as well as editorial teams who might not be as comfortable with Drupal’s administrative patterns.

Lightning and Headless Lightning are each great choices for decoupled applications, since they share the common Content API feature. For the purposes of this tutorial, however, we will assume you are using Headless Lightning.
 Simplified content authoring interface provided by Headless Lightning
BLT
BLT is a set of tools that will assist in creating a new project, as well as deploying and testing that project, using just a few simple commands. It automates many of the tedious tasks of spinning up a new project such as setting up a local environment, enforcing best practices, managing configuration, building a test framework, and setting up continuous integration.
BLT only works with Drupal 8, but it is completely agnostic as to which distribution or contributed packages you choose to use. By default, it will build new sites based on Lightning.
DrupalVM
DrupalVM is a Vagrant-based virtual development environment that makes it easy to set up a dedicated local development environment (including LAMP stack) for each of your Drupal projects.
Creating your application -- in Six Steps
1. Install the prerequisites for BLT and DrupalVM. We strongly recommend following this tutorial in a Unix-like environment (Mac OS or Linux). While all of these tools are generally compatible with Windows 10, there are some caveats, and the developer experience is going to be generally inferior to a native *nix environment.
2. Proceed to create a new project using BLT. BLT’s provided setup instruction should be comprehensive and self-explanatory, but we will duplicate them here for posterity. If you have any problems setting up the new project, review the BLT documentation or create an issue in the support queue.
Create a new project based on BLT by running the following command. We assume you will name the project “decoupled”, like ours:
composer create-project --no-interaction acquia/blt-project decoupled
This will create a new Drupal codebase and local Git repository in a directory named “decoupled”. When it’s complete, you should see a message like this:

Restart your terminal session so that your shell detects the new BLT alias, then change directory to your new site, i.e.
cd ~/sites/decoupled
All following steps assume that you are in this directory.
3. Set up your LAMP stack. We recommend using DrupalVM, but you can also follow the steps in the BLT instructions to configure your own LAMP stack if desired. Setting up a DrupalVM instance is as easy as running this command (this can take 10-20 minutes, go grab a coffee!):
blt vm
Important: it’s best if the major version of PHP on your host machine matches the major version in the VM. Your DrupalVM instance will use PHP 5.6 by default. Thus, if you use PHP 7+ on your host, you should configure DrupalVM to also use PHP 7:
- Edit
box/config.yml - Change php_version to 7.0 or 7.1 to match your host.
- Run vagrant provision
4. Download and install Headless Lightning:
composer require --no-update acquia/headless_lightning:^1.1.0-alpha3 && composer update
This will place the Headless Lightning code at: docroot/profiles/contrib/headless_lightning
5. Tell BLT to install Headless Lightning by default by editing blt/project.yml and changing the project:profile:name key to: headless_lightning.
6. Finally, now that all of the code dependencies and your LAMP stack are in place, it’s time to install the site:
blt setup
When you run this command, BLT will automatically make sure that composer dependencies are installed, configure your local settings, and install the Headless Lightning profile.
Congratulations
You should now have a functional decoupled Drupal application! You can log in by running this command in the root of your new `decoupled` repository:
drush @decoupled.local uli
Future blog posts in this series will demonstrate how to create and populate a content model, how that content is exposed via JSON API, and how to integrate with front-end apps and deploy them to Acquia Cloud.


